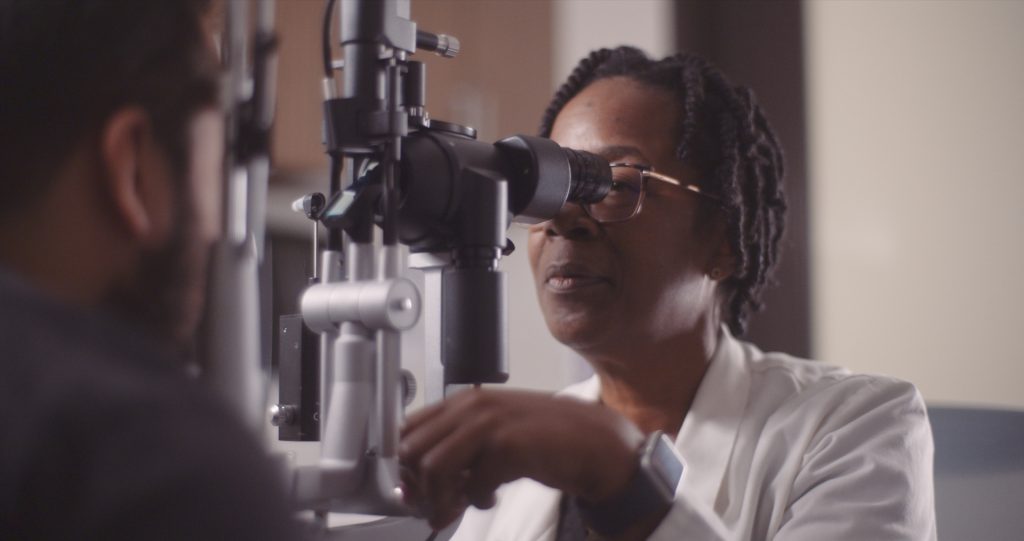
Affordable Eye Care in NYC: How to Protect Your Vision Without Breaking the Bank
Living in New York City often means choosing between essentials. For many people, eye care ends up pushed aside because of cost. The good news
Living in New York City often means choosing between essentials. For many people, eye care ends up pushed aside because of cost. The good news

Finding affordable behavioral health services in NYC can feel overwhelming, especially when you’re dealing with stress, anxiety, depression, or significant life changes. Many people aren’t

Starting a new life in New York City can be overwhelming, especially when it comes to getting medical care. Many refugees arrive with urgent health

As we get older, staying healthy can become more complex and sometimes more expensive. Regular doctor visits, prescriptions, and managing ongoing conditions can add up
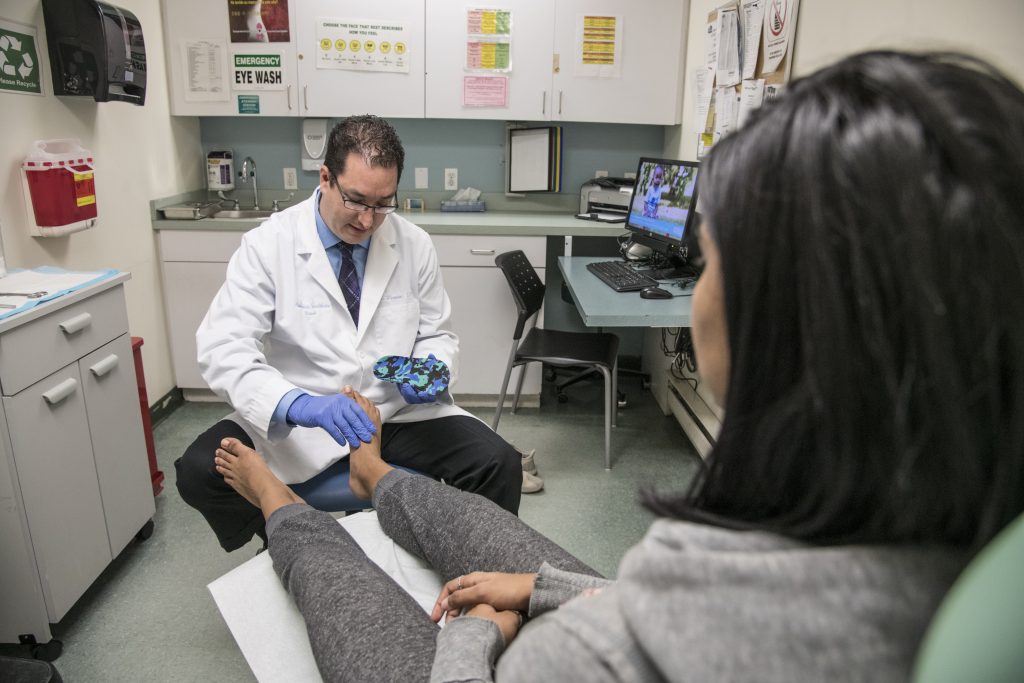
Affordable foot care in NYC is essential for staying mobile, independent, and healthy, yet many people delay treatment until pain or complications become impossible to
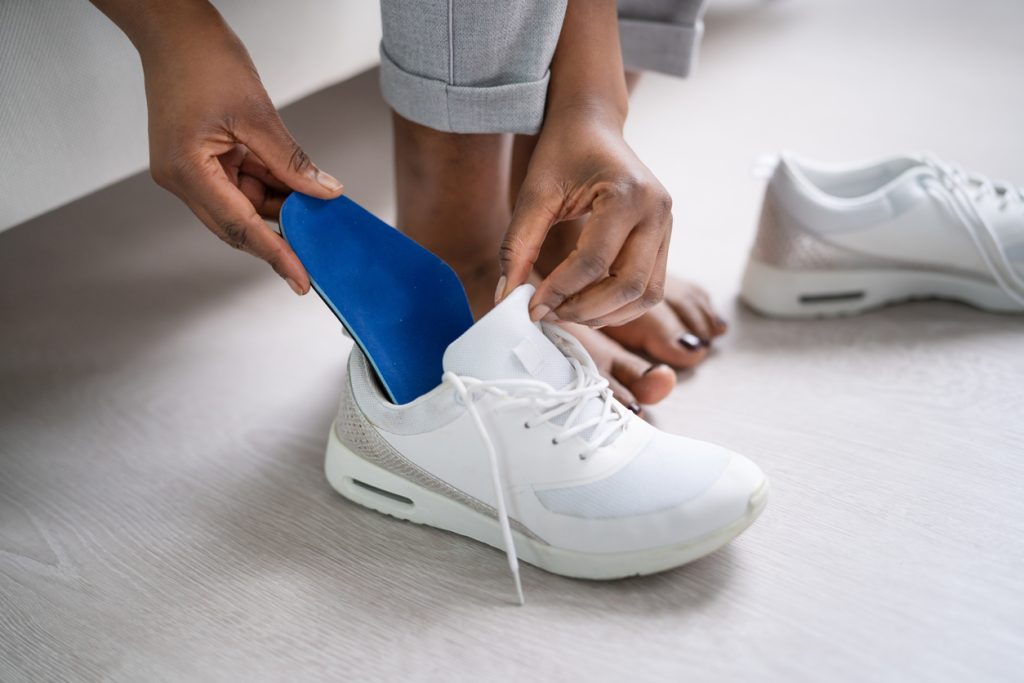
Your feet carry you an average of 115,000 miles in your lifetime, so keeping them healthy should be a priority! Choosing the Right Shoes The

Accessing quality healthcare shouldn’t depend on your income. Yet for many women in New York City, the cost of doctor visits, screenings, or prenatal care
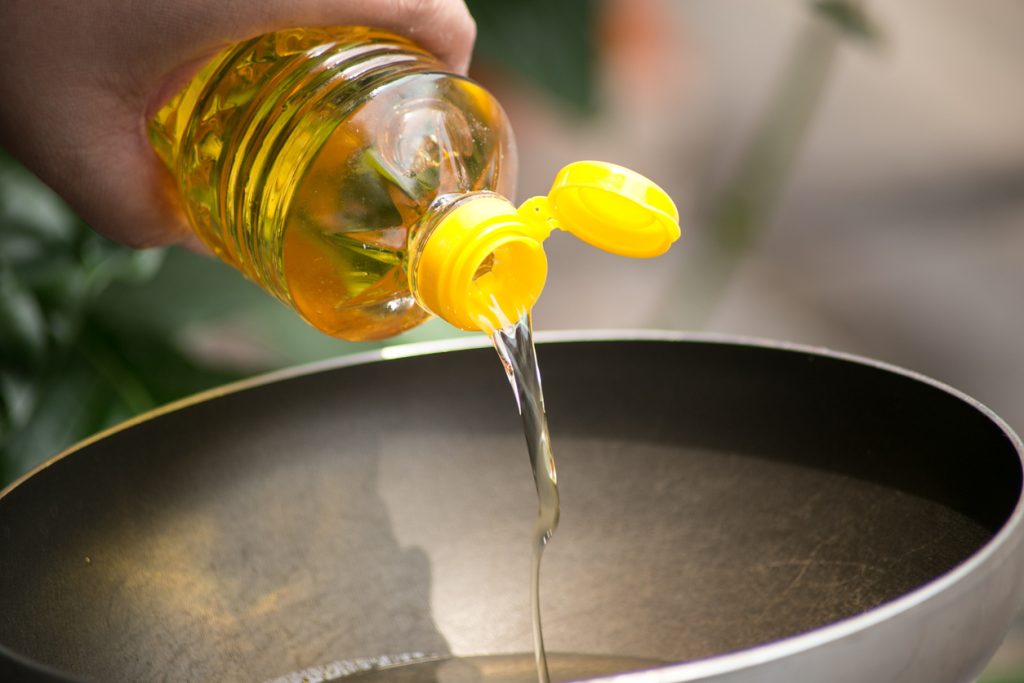
There are many types of cooking oils with unique flavors and different health benefits. Oils are categorized into fruit oils, seed oils and animal based
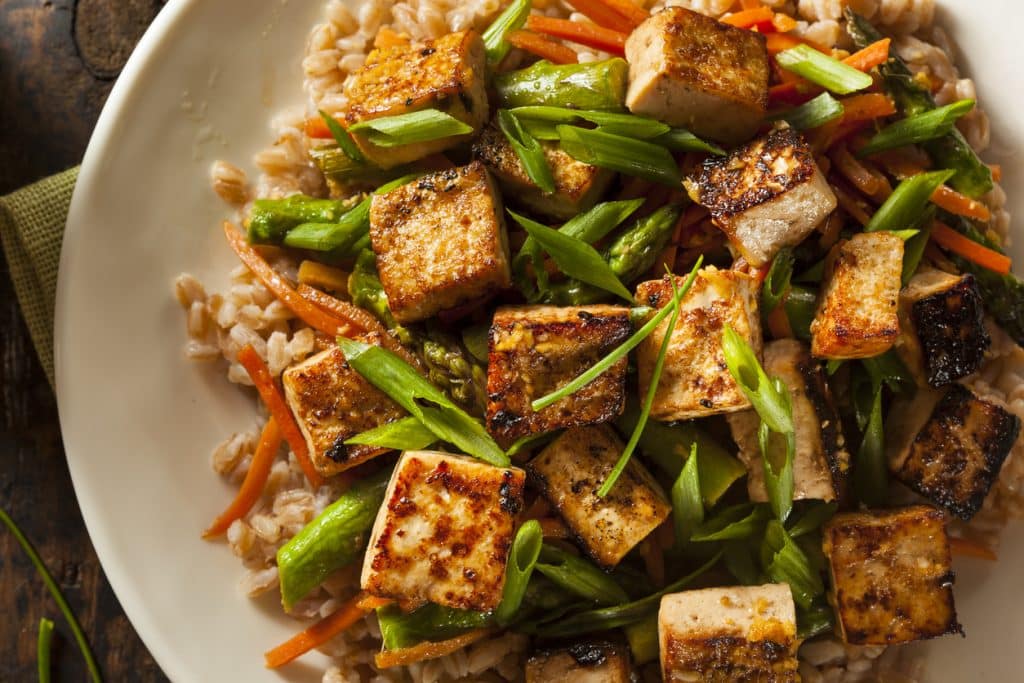
Tofu is a popular plant-based protein made from blended, fermented soybeans, much like cheese is made from cow’s milk. It’s known for how versatile it